|
|
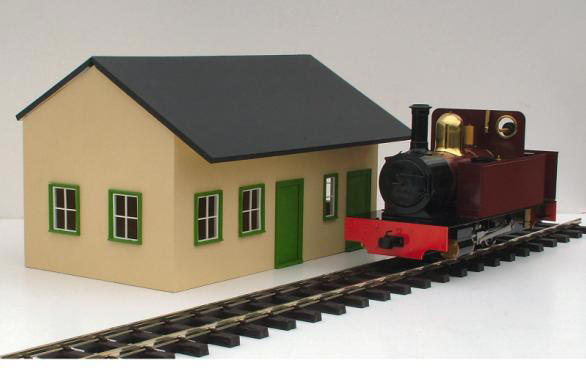
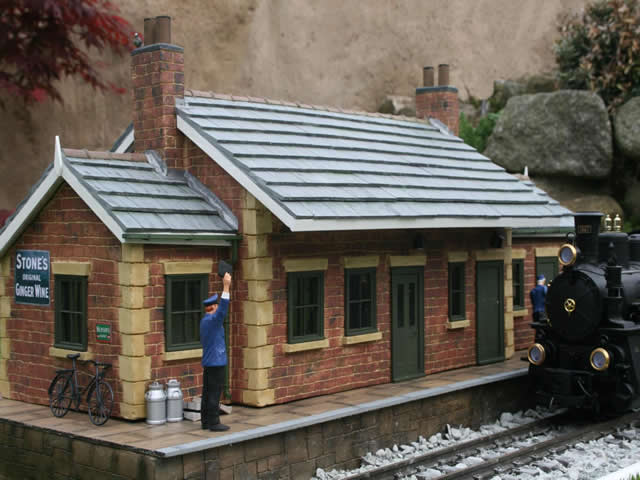
In the last article I reviewed a building supplied by Jackson’s Miniatures. At the end of the article I promised to write how the basic structure supplied by Jackson’s could be modified to produce a more realistic "life-like" building for your G Scale Layout – so here it is. One of the things that I wanted to ensure is that the building will stand up to the rigours of being outside in the inclement British weather (especially in sunny Bolton, which will be the home for this building). You may recall that the building is "basic" if built out of the box, but does give the builder a very good starting structure.
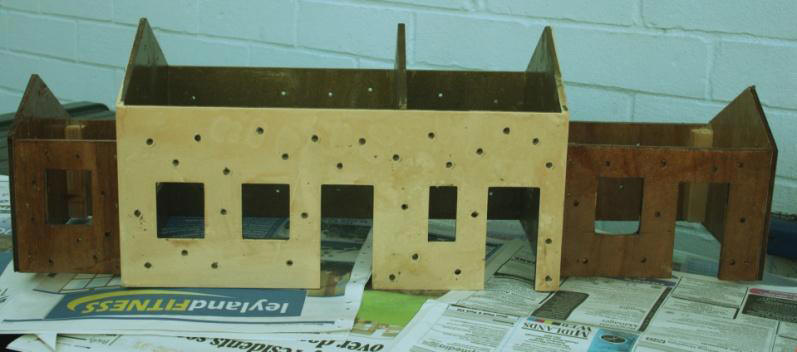
(Picture courtesy of Jackson’s Miniatures) The first thing I did was to extend the length of the building. The extensions were built using some water & boil proof ply that I had in the garage.
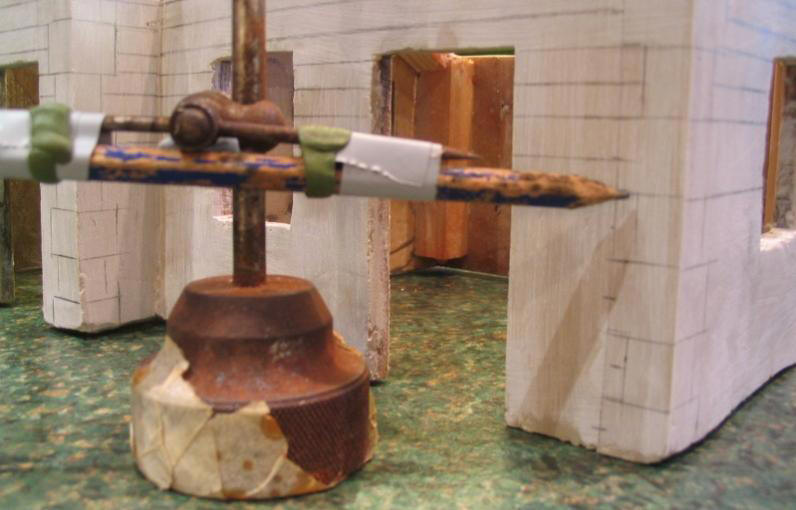
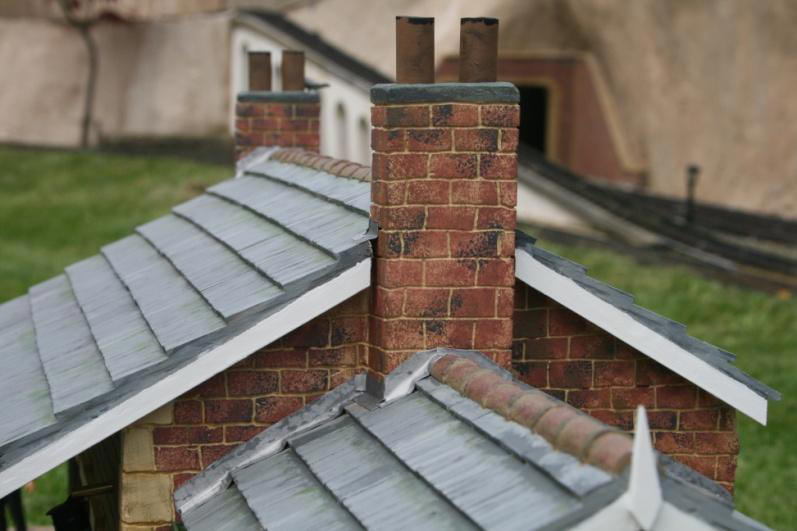
The whole structure was "beefed" up by adding 20mm sq. reinforcing timbers at all the internal corners and also to where the walls meet the roof. The relevant apertures were cut for windows and doors on the extensions to the building. (I didn’t purchase any additional fittings from Jackson’s Miniature’s; I just used those items as supplied with the kit). 5mmØ holes were drilled randomly all over the walls of the building and then the entire building was coated with thickly brushed on fibreglass resin. I used fibreglass resin in order to totally waterproof the MDF and plywood and also to provide a sound surface for the car body filler I coated the building in. The 5mm holes also allow the filler to create a "rivet" type effect for additional adhesion. I have used car body filler on a number of other buildings on my layout and on buildings I have made for friends. The reasons behind using this medium are mainly – It’s easy to work with, it cures in a matter of minutes, so you’re not left hanging around waiting for it to go "off" and the most important reason is that of its durability. Let’s be honest – It lasts longer than the cars it’s used to patch up! Chimney stacks were added by using 50mm x 25mm timbers at either end of the kit section of the building.
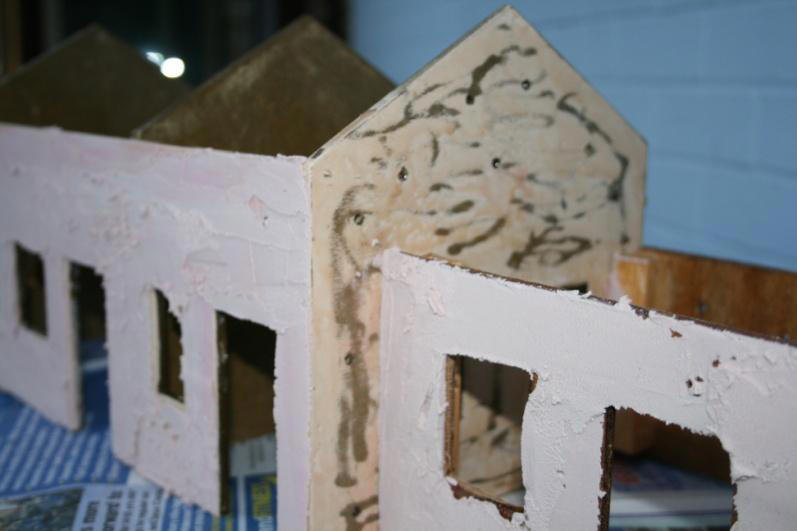
Car body filler was liberally applied to all the walls – up to a thickness of about 3mm. This was then sanded down to a reasonably flat surface – some blemishes were left in on purpose.
Bricks and mortar joint lines were then scribed on to the building.
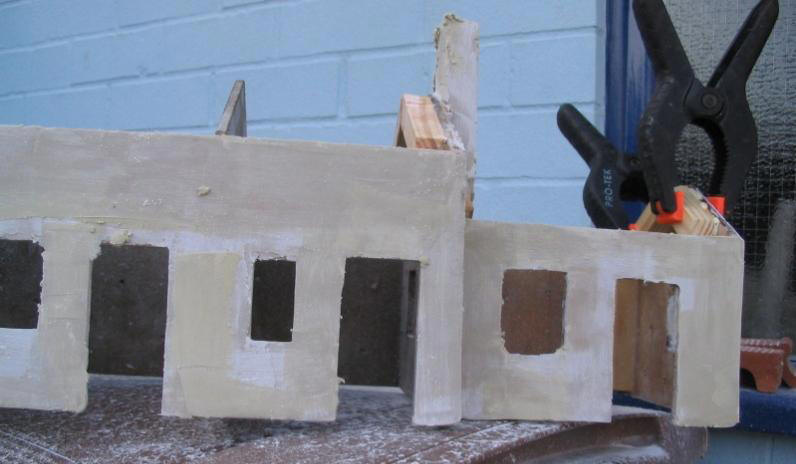
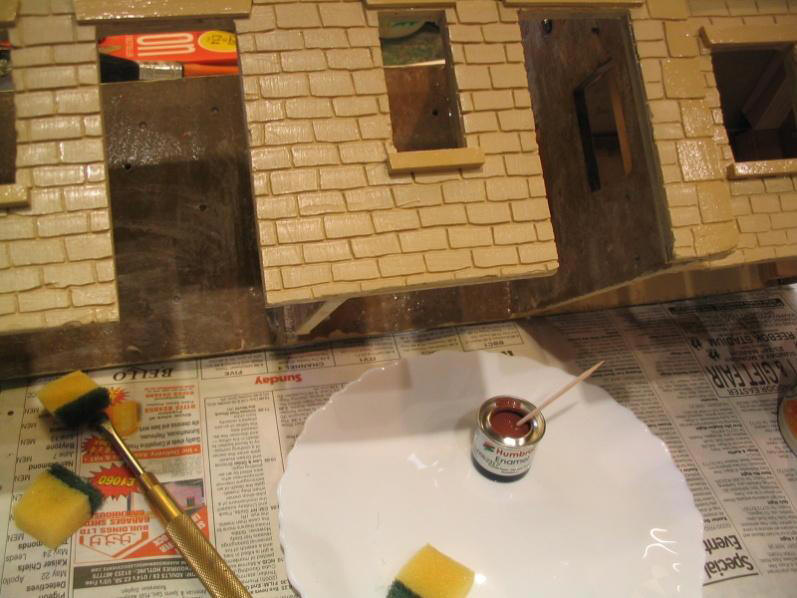
The mortar lines were scribed into the car body filler using a Dremel. (I ensured that the scribed joints were not deeper than the thickness of the car body filler). Lintels over the windows and doors were added as were windowsills to each of the windows. These are made from timbers sections available from modelshops. The building was then coated with enamel paint (using the colour I wanted for the mortared joints. In this case Humbrol "satin oak").
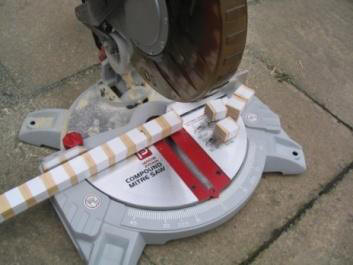
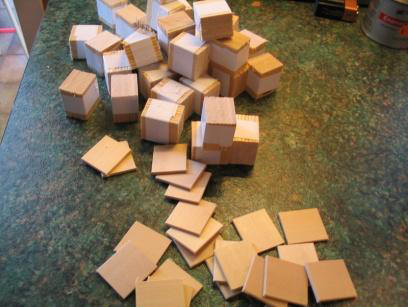
To create the brickwork effect, brick red enamel was "dabbed" on to the brick faces using a small piece of pan scourer, so that the paint wouldn’t go into the mortar joints. Other colours of enamel were applied using the "dabbing" technique to bring the brick work to "life". Roof tiles were cut from some discarded wooden blinds Each tile was then glued on to the 3 roofs and painted with grey enamel primer.
I used Aliphatic resin (a waterproof wood glue that I have used in my previous hobby of model boat building) to glue on the roof slates. Various other greys’ and a spot of green were "dry brushed" onto the tiles to create a weathered effect.
Lead flashing was created using an empty tube of tomato puree. The tube had both ends cut off and then cut down the seam and flattened out. Using emery paper and a bit of "elbow grease" the product markings were removed from the metal sheet.
Roof ridge tiles are made from 10mmØ aluminium tube, cut to length and then cut in half length ways. The ridge tile joints are made from "metal putty". The chimney pots are made from copper microbore tubing I had in the garage. The tops of which are filled with metal putty to prevent rainwater from entering.
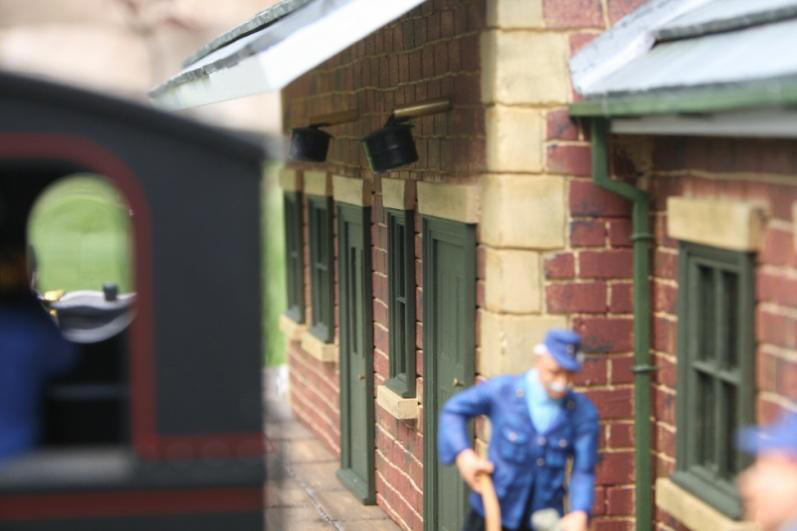
Guttering is made from some very fine "U" shaped timber I had in the spares box and the downspouts are made from 4mm sq. brass brazing rod, soldered together. This entire assembly was finally over sprayed with matt enamel varnish to "dull down" the paint finishes and to add additional weatherproofing. Windows and doors were painted using acrylic paints. In one of the doors I cut out 2 of the panels and added glazing.
Lighting is provided by using two Massoth coach lighting strips for the internal lights and a further Massoth lighting strip is used to supply the power to the two external lights over the doors of the station. The lights over the two doors are made from plastic end stops for tubing from B&Q. All interior joints from the walls to the roofs have been additionally sealed using clear silicone sealant. This building was donated to a newly rebuilt Garden Railway after the 2008 G Rail event (Mike Duffy’s Lazy Grange Bay Mk II).
Ian Sharples.
|